How to Integrate WhatsApp Business Account to Facebook Meta Business
Before you begin
You must have a personal Facebook account. You’ll use it to log into Meta Business Suite or Business Manager, where you can create your business portfolio.
You are allowed to create up to 2 business portfolios in one business manager account.
How to create a business portfolio.
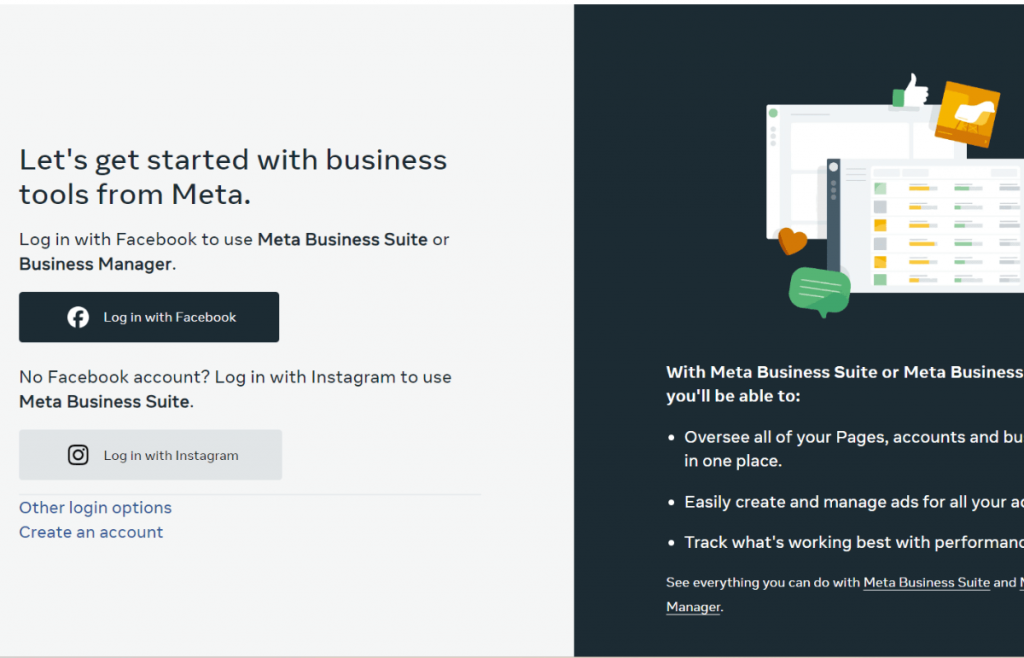
Go to business.facebook.com in a desktop browser. You will also use this address to log into Meta Business Suite or Business Manager.
Step 2. Login with your personal Facebook account details.
IMPORTANT: It’s not possible to create a Meta business account without a personal Facebook personal account so make sure you already have one in advance.
If you already have access to Meta Business Suite and Business Manager, you can also click the dropdown menu located at the top of the sidebar. Then skip the step.
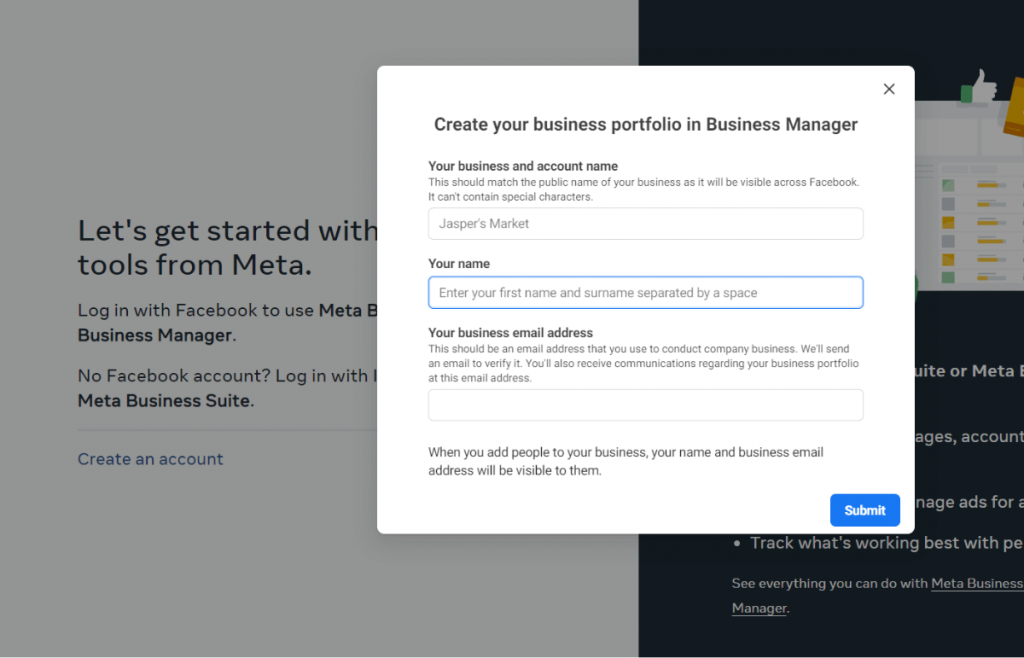
Step 3. Click Create an account on the left-hand side when you sign in.
Step 4. Enter your business details, such as the name of your business, your full name, and business email.
It’s important you write the correct account name as this is how you will show up across Facebook.
Then click Submit.
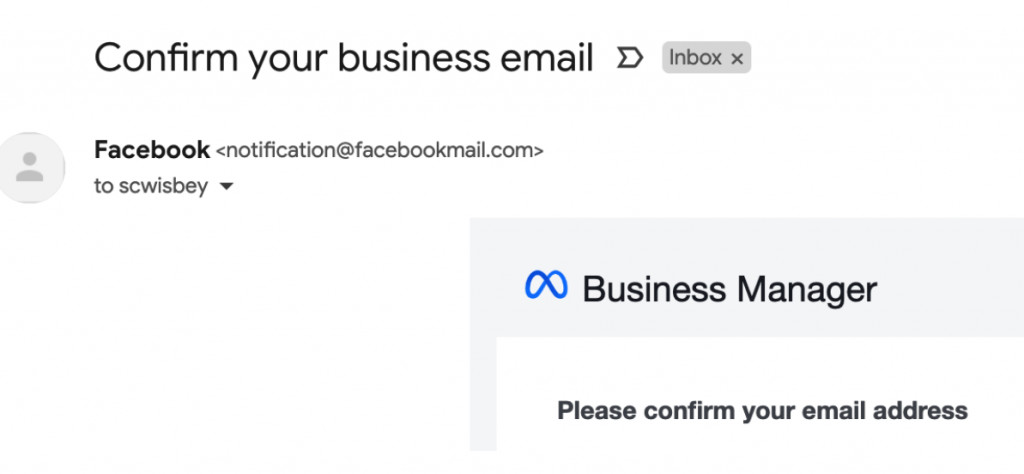
Step 5. Verify your email address.
You should receive a message from notification@facebookmail.com that asks you to confirm your business email address:
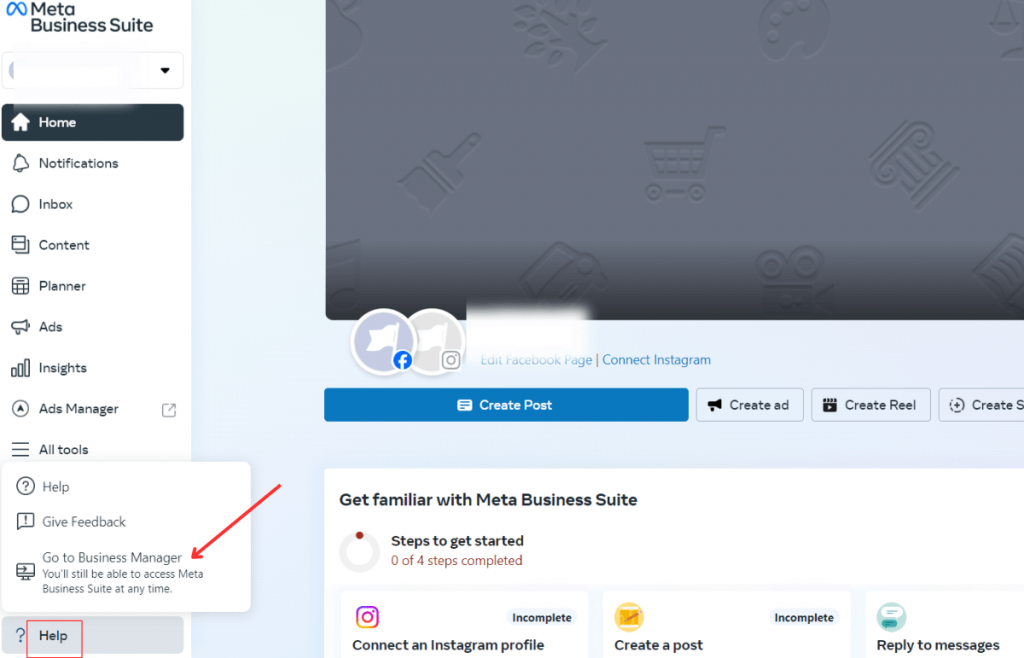
Step 6. You will now be redirected to your Meta Business Suite dashboard.
You can find your Meta Business Manager (Portfolio) account by clicking Help > Go to Business Manager.
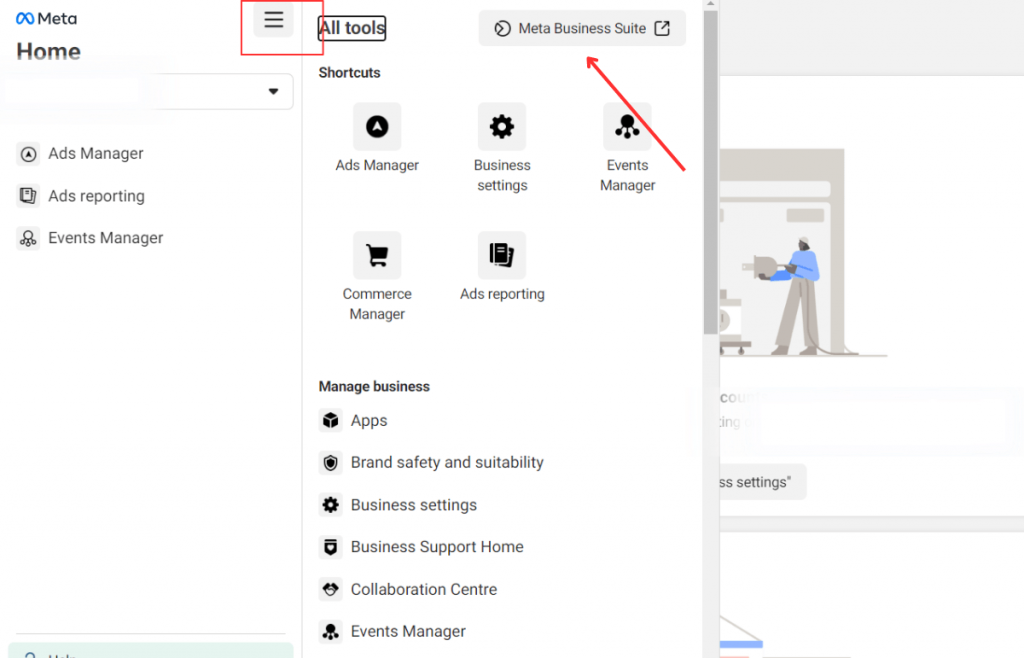
Step 7. You can access Meta Business Suite from your Meta Business Manager Account by clicking on the All Tools icon and then choosing Meta Business Suite.
Second Steps to Register as a Meta Developer
How to register as a Meta developer. Once you have registered you will have access to the App Dashboard and all of our products, SDKs, APIs, development tools, and developer documentation.
We will send a confirmation code to the phone number and email address that you provide in order to confirm that you have access to them. Your number and email will be used for important developer notifications of any changes that may impact to your app.
Step 4: Select your occupation
Select an occupation that most closely describes what you do for a living.
Go to Business Manager’s Security Centre. Click Start verification.
Provide your business’s details, including the legal business name, address, phone number and website.
Note: Company name & contact details must be available on the website. Make sure that the details you submit exactly match the details of your legal business entity. Also make sure that your business’s website loads and is HTTPS compliant.
Confirm your business’s details.
If no matching record is found, upload supporting documents, such as a business licence or articles of incorporation, to confirm the details you entered.
Business Registration or Licence
Business Tax Documents
Utility Bill
2. Choose a method to confirm your connection.
A confirmation code will be sent if you choose email, phone, text message or WhatsApp. To confirm via domain verification, follow these steps.
Email (The domain of your business email address must match the domain of your website.)
Phone number
Text message
WhatsApp message
Domain verification (You must have admin access to your site’s web host or DNS provider.)
When you’ve finished, click Done.
Once verification is done you will receive confirmation mail on registered email id. After verification it will look like this.
You will need the following steps to create an app:
Note:- If creating an new app id option not visible need to add payment method on the fb ads manger account.
Clicks on Apps—->Click on Add Option—>Click on Create New App ID
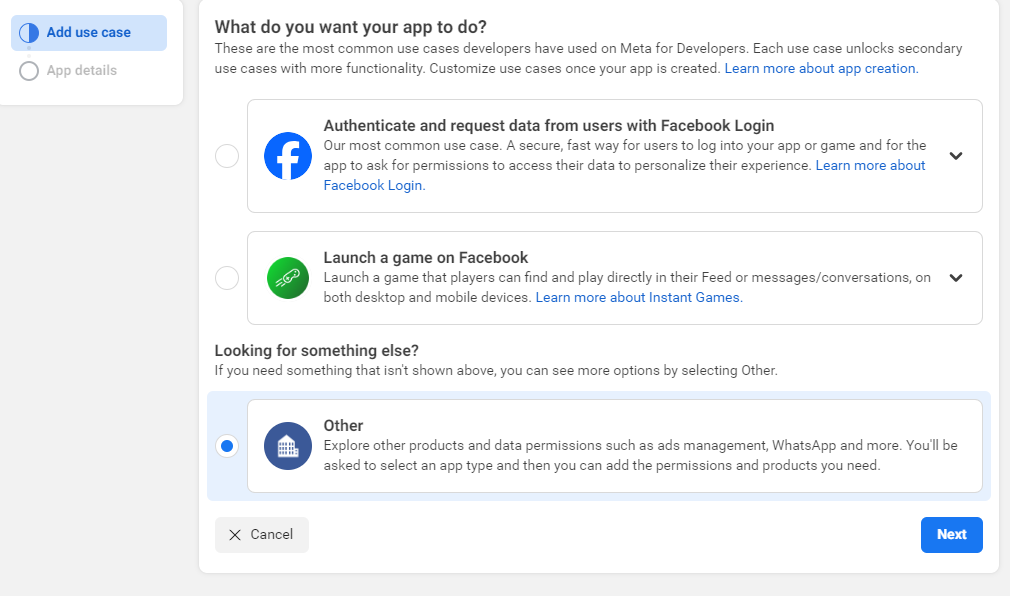
What do you want your app to do?
Choose other option then click on next.
Other App Types – Explore other products and data permissions such as ads management, WhatsApp and more. You’ll be asked to select an app type and then you can add the permissions and products you need.
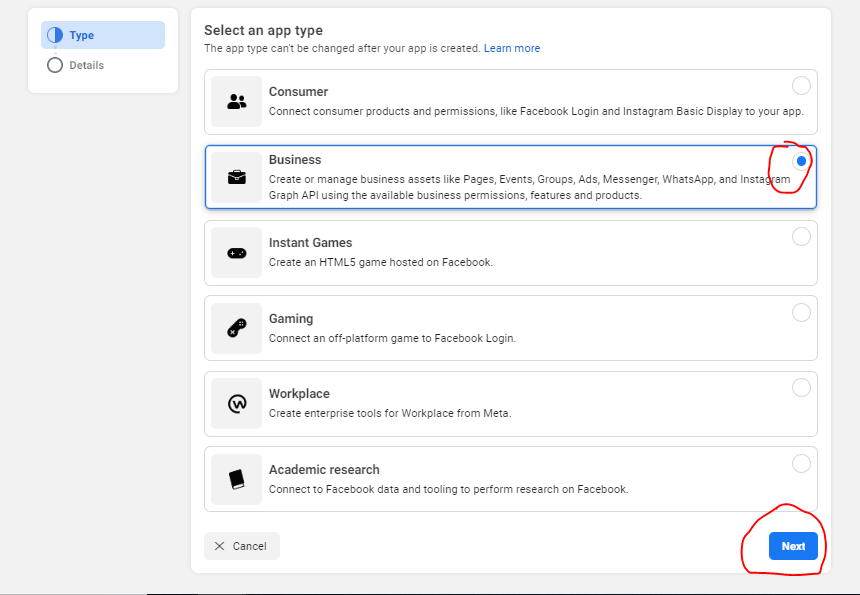
Choose an app type as business.
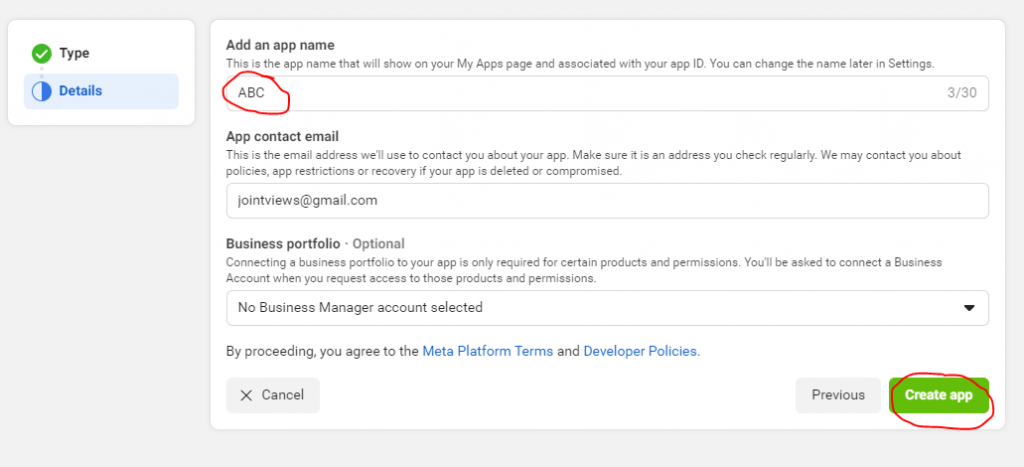
Add an app name related to our WhatsApp business account & click on create app.
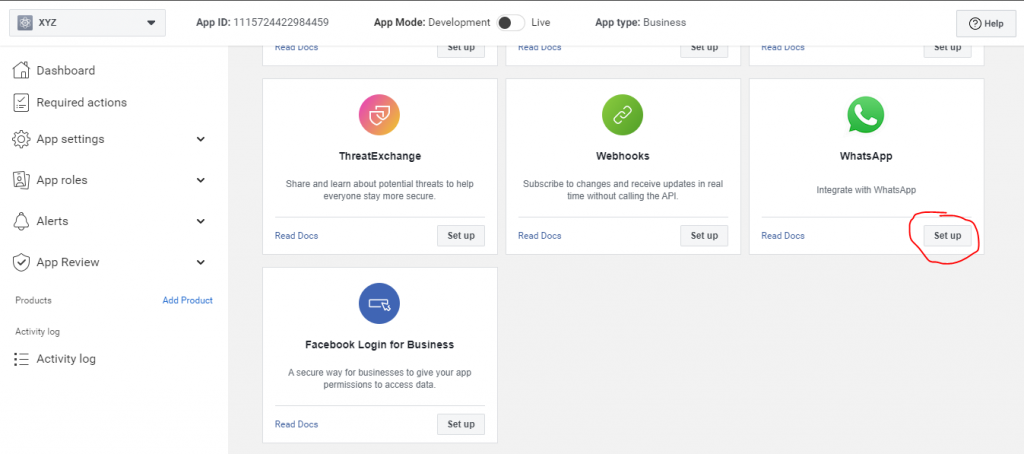
After creating app the product selection window will open then scroll down the page little bit you can see WhatsApp Option then click on setup option like
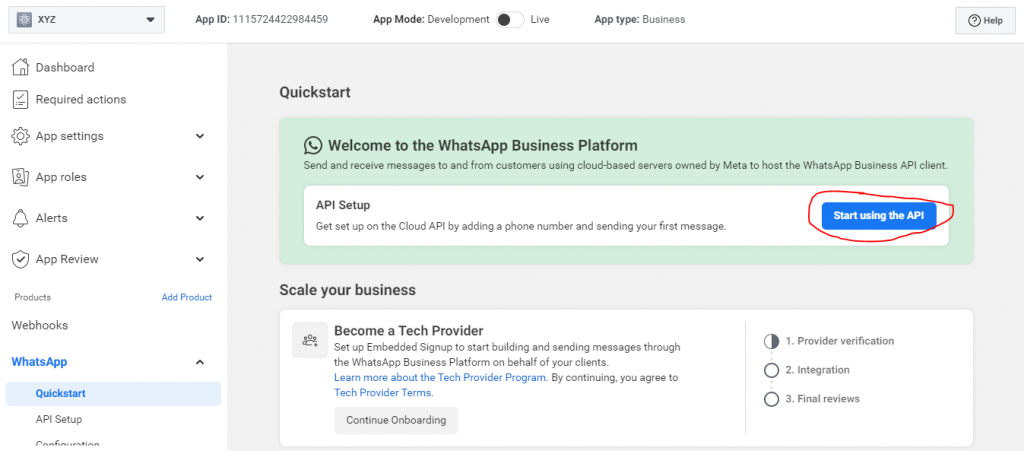
After Click on Start using the API option Get set up on the Cloud API by adding a phone number and sending your first message.
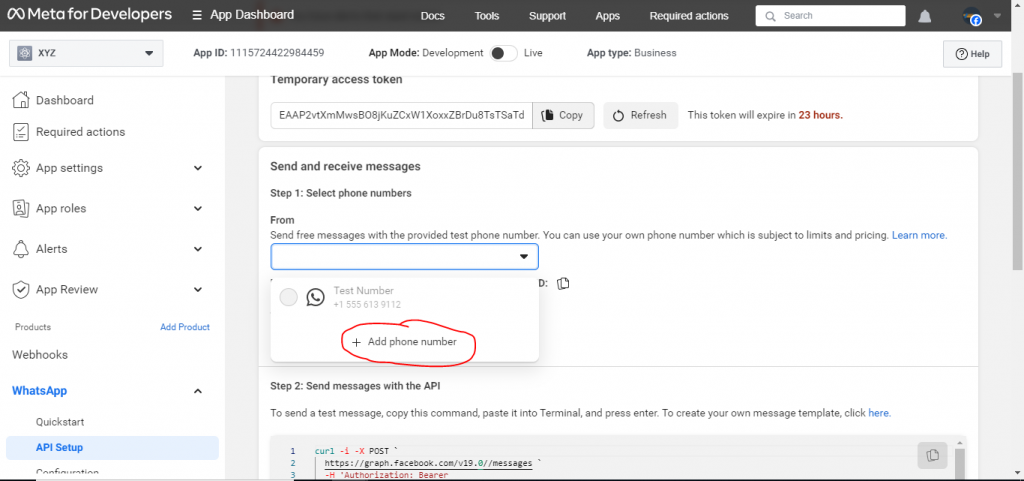
Need to add 1st WhatsApp number click on drop down icon Then click on add phone number option
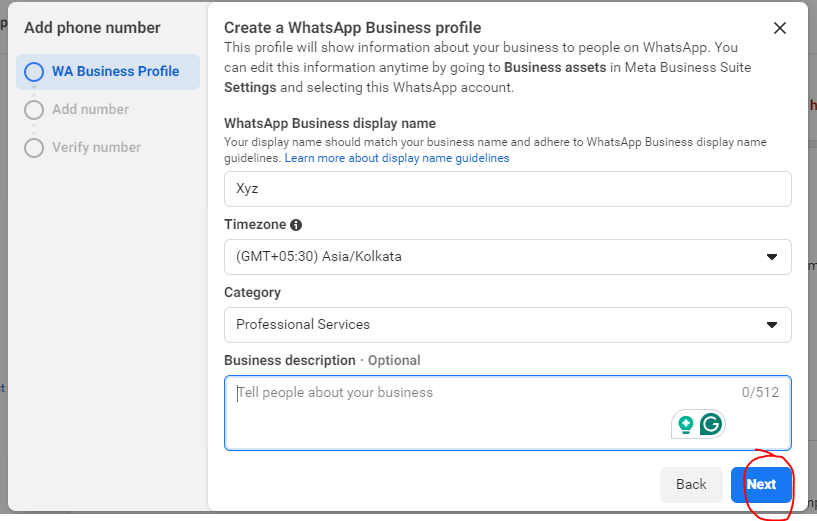
After window will open need to add the details then click next
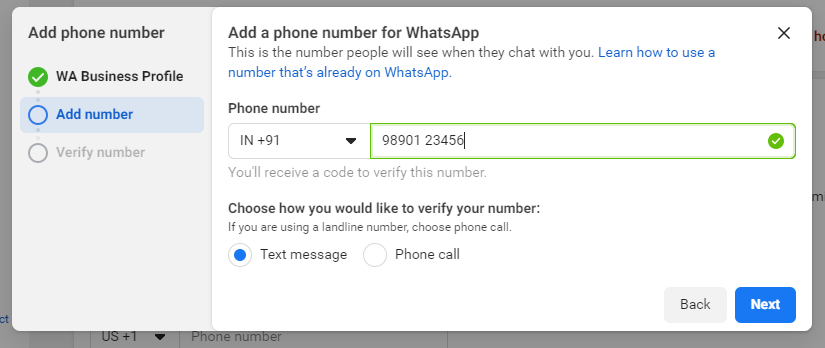
Add a phone number for WhatsApp Window will open
Select country code as you have to add phone number
Eg:- i have selected India +91 9890123456
Note:- WhatsApp is not activated on that number, If you have activated WhatsApp you need to take backup the data and permanently delete the WhatsApp account associated with that phone number, and try to add again after 5 minutes.
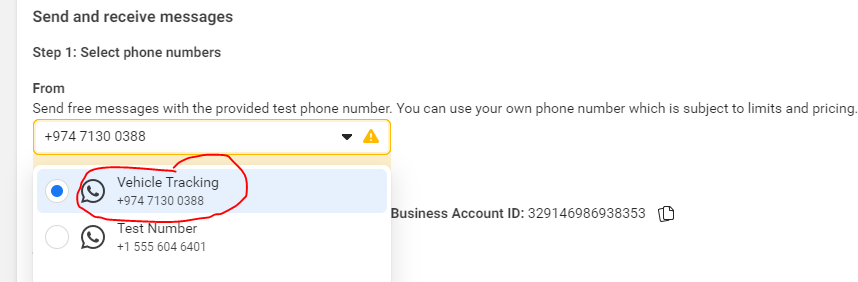
Once verification is successfully completed, you will be able to view the phone number in the dropdown list as shown below.
Adding payment method.
After you can click on add payment method option on notification need to add credit/debit card details
Add a payment method to send business-initiated messages to your customers.
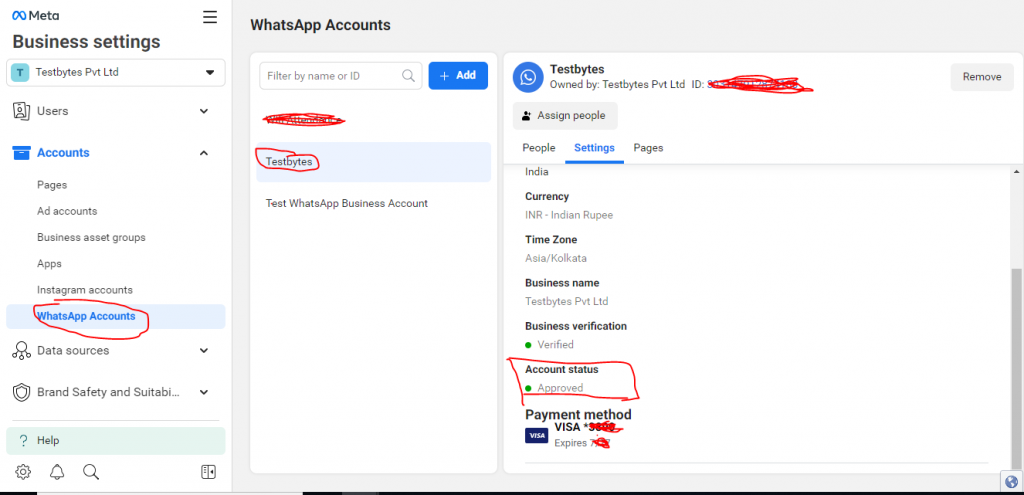
Once payment status done click on WhatsApp Account then it will show the status like this
After the verification status is confirmed, a popup will appear prompting you to add business details such as the GST number etc.
To create message templates for your WhatsApp business account:
Click the account that you want to create the message template for.
Click the 3-dot icon.
Click Manage message templates.
(Optional) If you have multiple WhatsApp business accounts, use the drop down menu to select the account where you want to create a message template.
Click Create message template.
Choose your category, name and languages:
Category: Choose which type of template you’d like to create: marketing, utility or authentication. You can hover over the template types to view details for each template.
Name: Enter name of the template in lowercase letters, numbers, and underscores only.
Language: Choose which languages your message template will include. You can delete or add more languages in the next step.
Click Continue.
For Utility and Marketing templates follow these steps:
Add sample: If you want to include variables or media (optional), you must add a content example for your template by clicking the Add sample button. This helps us during the review and approval process, so we can understand what kind of message you plan to send. Make sure these are representative examples and do not include any actual customer information.
Header: (Optional) Add a title or choose which type of media you’ll use for this header.
Body: Enter the text for your message in the language you’ve selected. You can edit text formats, add emojis or include variables. These allow a developer to add unique information such as specific names, locations or tracking numbers when inputting the templates into WhatsApp Business Platform.
Footer: (Optional) Add a short line of text to the bottom of your message template.
Buttons: (Optional) We offer a variety of buttons for marketing and utility messages that can help you drive engagement. You can select from the drop down menu to create buttons that let customers respond to your message or take action: If you don’t want to add any buttons, select None.
Call to action: You can combine up to 10 buttons in a button list that lets your customers take action. The types of action include Call phone number and Visit website. This lets you add a phone number or website URL to your message. If you choose Visit website, you can include up to 2 URLs which can be either a Static (fixed) website URL or a Dynamic website URL, which creates a personalized link for the customer to view their specific information on your website by adding a variable at the end of the link. Note: You can combine a call-to-action and a quick reply as one button.
Quick reply: Create up to 3 buttons that let your customers respond to your message.
Message content: The message content for authentication templates is fixed as shown in the preview. You can optionally add a security recommendation statement and/or code expiration time in your message content.
When completed, click Submit.
Your template will now be sent for review. The status of your template is viewable under Message templates. After your template has been approved, you can begin sending messages with that template. More details available in Sending Message Templates Developer Document.